
This article will introduce you to open source tool devised for creating hybrid mobile apps for Android, iOS, Windows Phone and few more obscure platforms. Tutorial will focus on making apps for Android but with a simple change other platforms can also be enabled.
1. Why Cordova?
Building native mobile applications has a high entry barrier: for each targeted system it requires learning a platform-specific language and an assortment of APIs, together with their quirks and best practices right from the start. At the same time many mobile applications employ functionality and interface similar to a mobile website. Therefore, toolkits for building cross-platform mobile applications in HTML, CSS and Javascript have emerged pretty fast. One of the most popular is Apache Cordova, an open-source engine from Phonegap.
With Cordova, you can build mobile applications exactly as if you would build a website, with all the pros and cons of such approach. If you already have all the required HTML, CSS and Javascript know-how, Cordova enables you to:
- use your favourite UI toolkits and Javascript frameworks,
- prototype and debug in a browser,
- freely decide which files and assets are stored in-app and which ones are going to be fetched from the server (quick availability versus easy updatability).
But of course you need to consider the performance: a web application is never going to be as performant and as responsive as a native one.
Nonetheless, there are many cases when Cordova application is enough, allowing us to save a lot of time and money.
2. What is hybrid app?
To be precise, I need to call the apps created using Cordova hybrid apps. Although Cordova builds .apk for Android or .ipa for iOS, they still have a set of limitations that are not shared by the apps written with Java, Objective C or Swift and then built with Android Studio or XCode. What is the difference?
With the slight exception of React Native, all tools for building cross-platform apps rely solely on Web View. The WebView or WKWebView in iOS are classes used for embedding web content in a mobile app. As that is their only purpose, they don’t offer easy access to other parts of an operating system, its services and hardware components.
Everything you build is going to run in this WebView like it would in normal browser, that is why you can’t call these apps native. Their nativeness manifests in having a dedicated package file which can be easily installed on each platform. But this is exactly what you are looking for and thanks to Cordova’s rich plugins’ environment, you will be able to gain access to device features like camera or GPS.
3. Basic installation.
Cordova is a set of tools distributed and managed through npm. Assuming you already have Node.js and npm installed and configured (pro tip: use Node Version Manager), let’s install the Cordova toolkit:
$ npm install -g cordova
Before you decide which platform to start with, you need to create new project. For this introduction, you are going to create simple app which will imitate a crystal ball and answer the user’s questions.
$ cordova create crystal_ball
Now decide which platforms to install. First and foremost, start from the Browser platform, the most convenient one for development and debugging.
$ cd crystal_ball
$ cordova platform add browser
4. Hello Cordova!
Before you proceed with installing some serious platform like Android, try to run your newly bootstrapped app in the Browser.
$ cordova run browser
If everything is installed correctly and a new project is created, chrome browser should open displaying a welcome screen of your app.
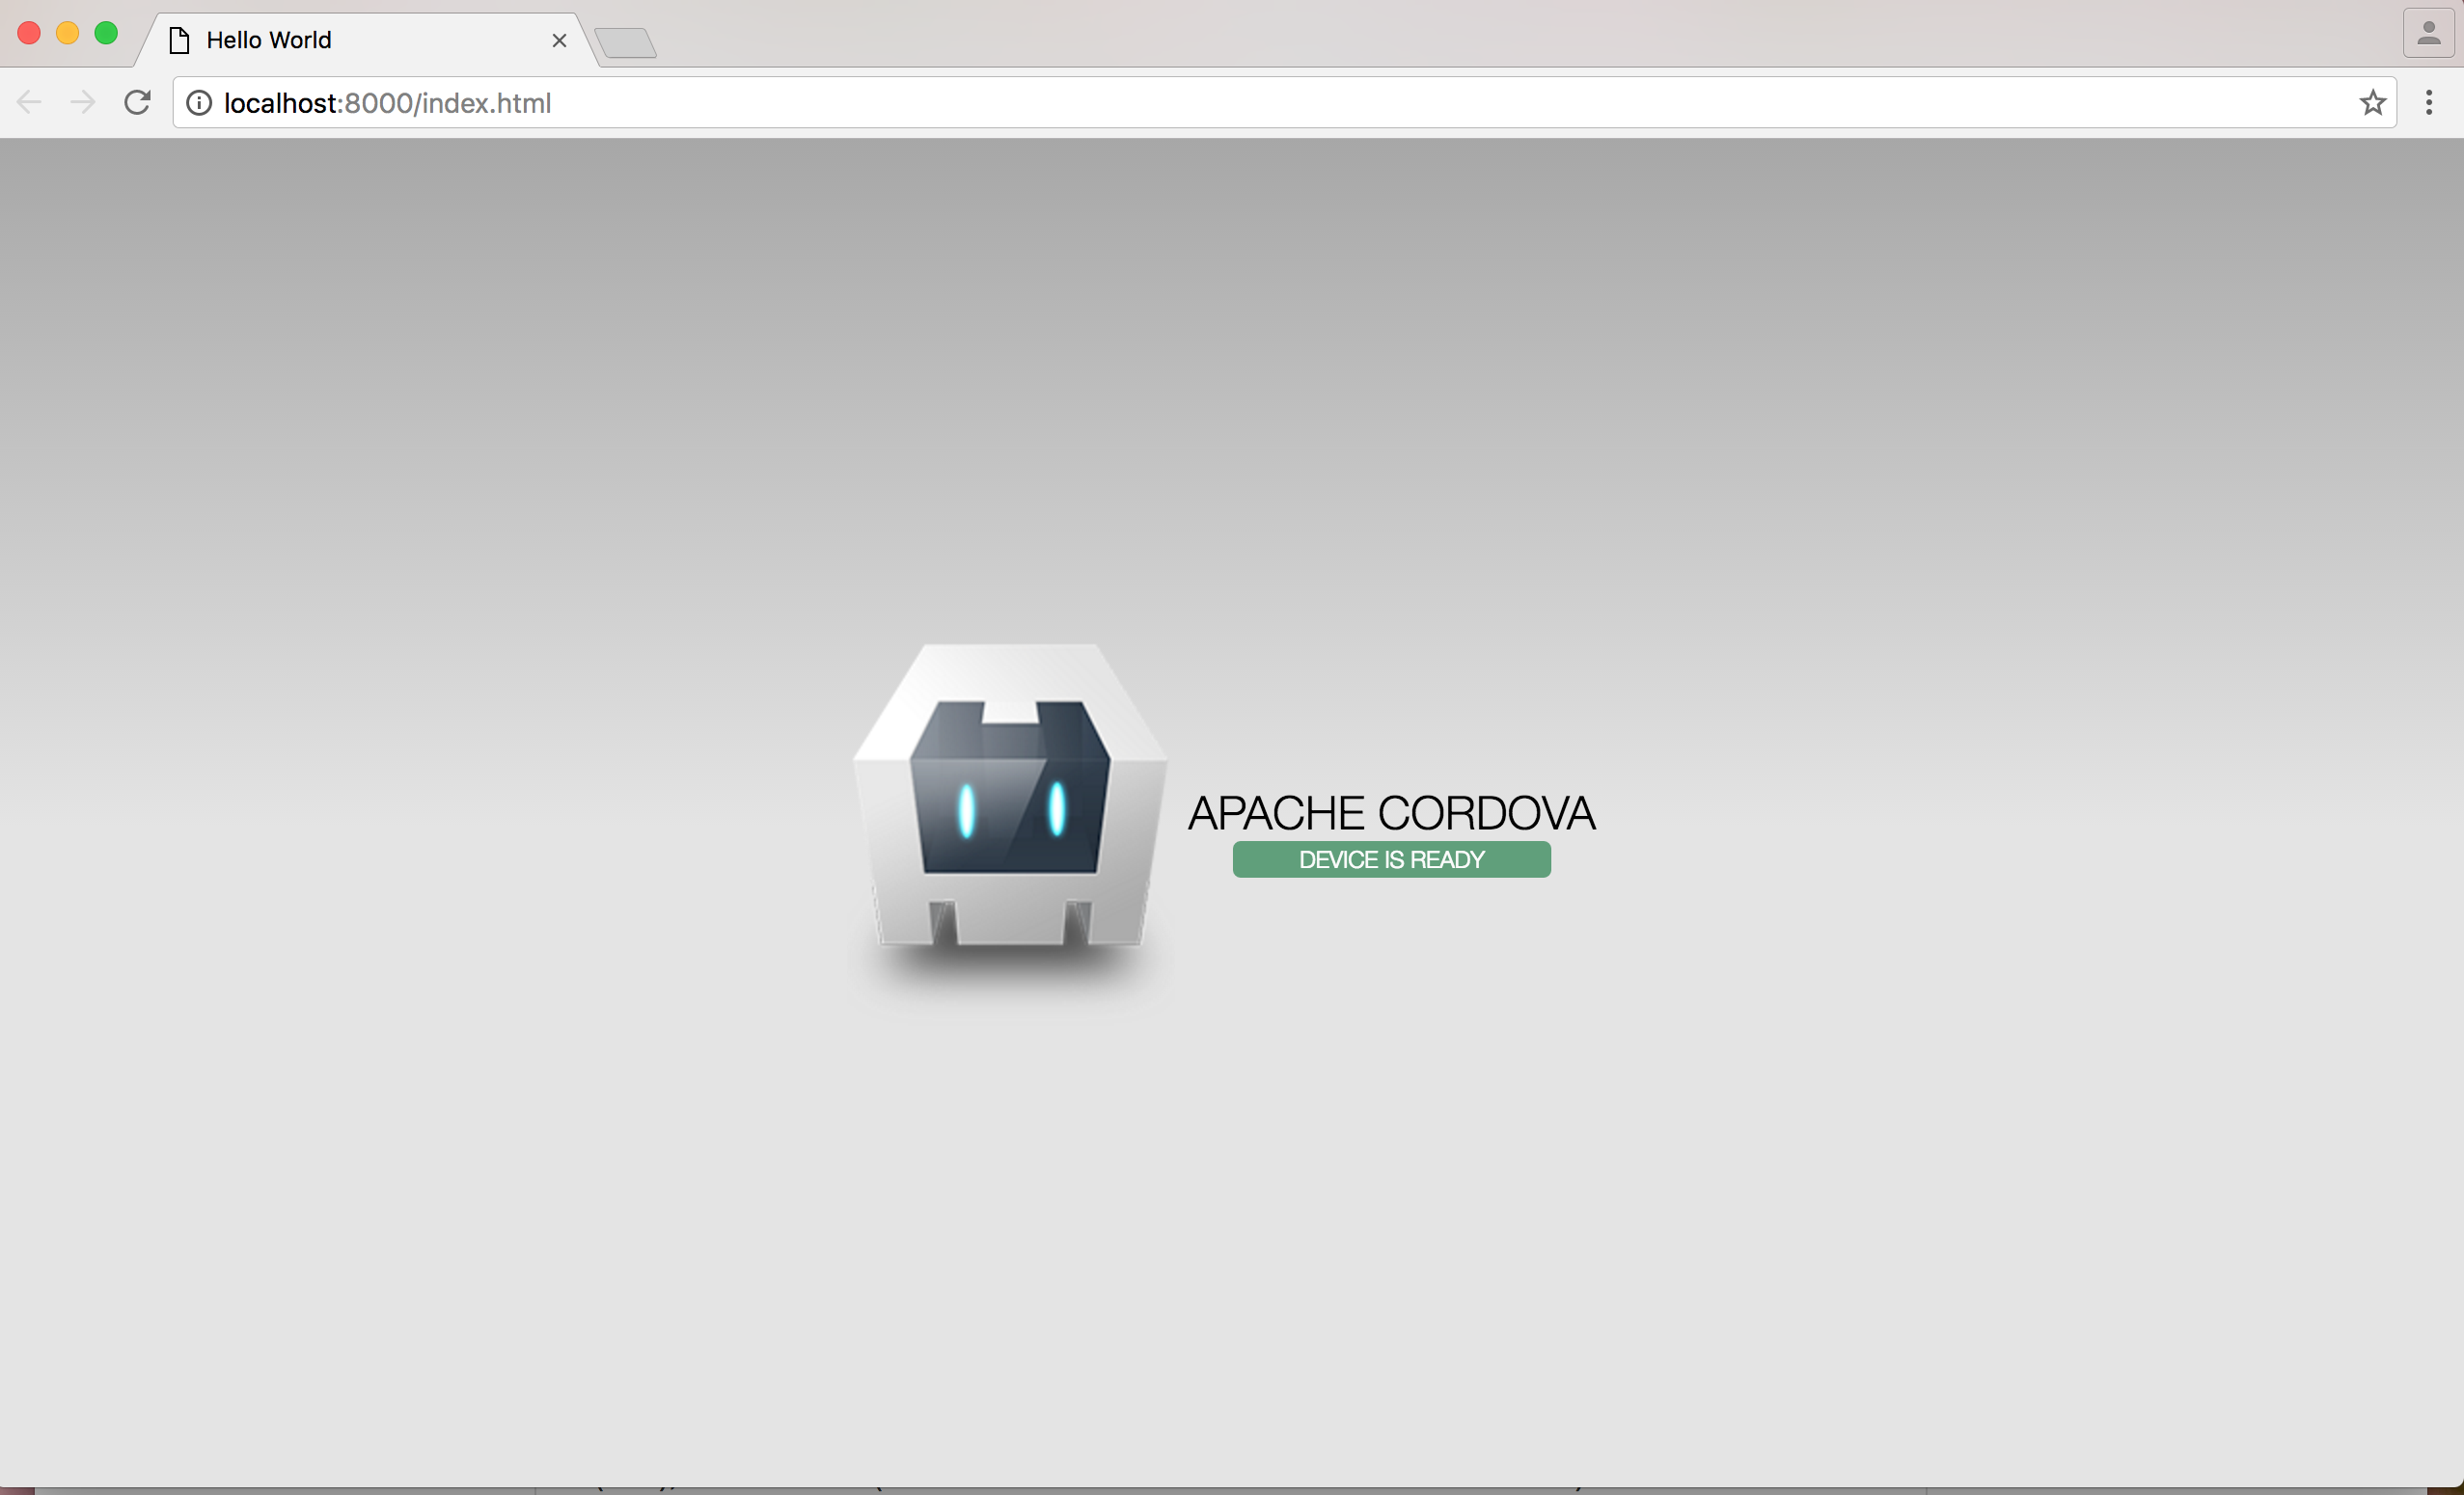
Great success!
5. Adding mobile platforms
After that, install your mobile development platform for targeted systems. Like I said in the beginning, for this guide I’m going to focus on Android.
$ cordova platform add android
Just like for developing native Android applications, you need to install Java Development Kit (JDK), Android SDK (or full Android Studio suite which is recommended) and then launch it to install APIs for development. We also need to make sure JAVA_HOME and ANDROID_HOME environment variables are set and (optional but convenient) Android SDK’s tools and platform-tools are added to our PATH.
You will have to choose Android API level when downloading SDK. Unless you have some special need, go for newest version (23 at the time of writing this post).
https://cordova.apache.org/docs/en/latest/guide/platforms/android/index.html
For iOS instalation take a look at: https://cordova.apache.org/docs/en/latest/guide/platforms/ios/index.html For Windows Phone: https://cordova.apache.org/docs/en/latest/guide/platforms/wp8/home.html
When Android environment is installed we can run our app in default emulator.
$ cordova emulate android
First build is going to take some time but subsequent ones should not take more than few seconds.
Again if everything went smooth we will see our app welcome screen in the emulator.
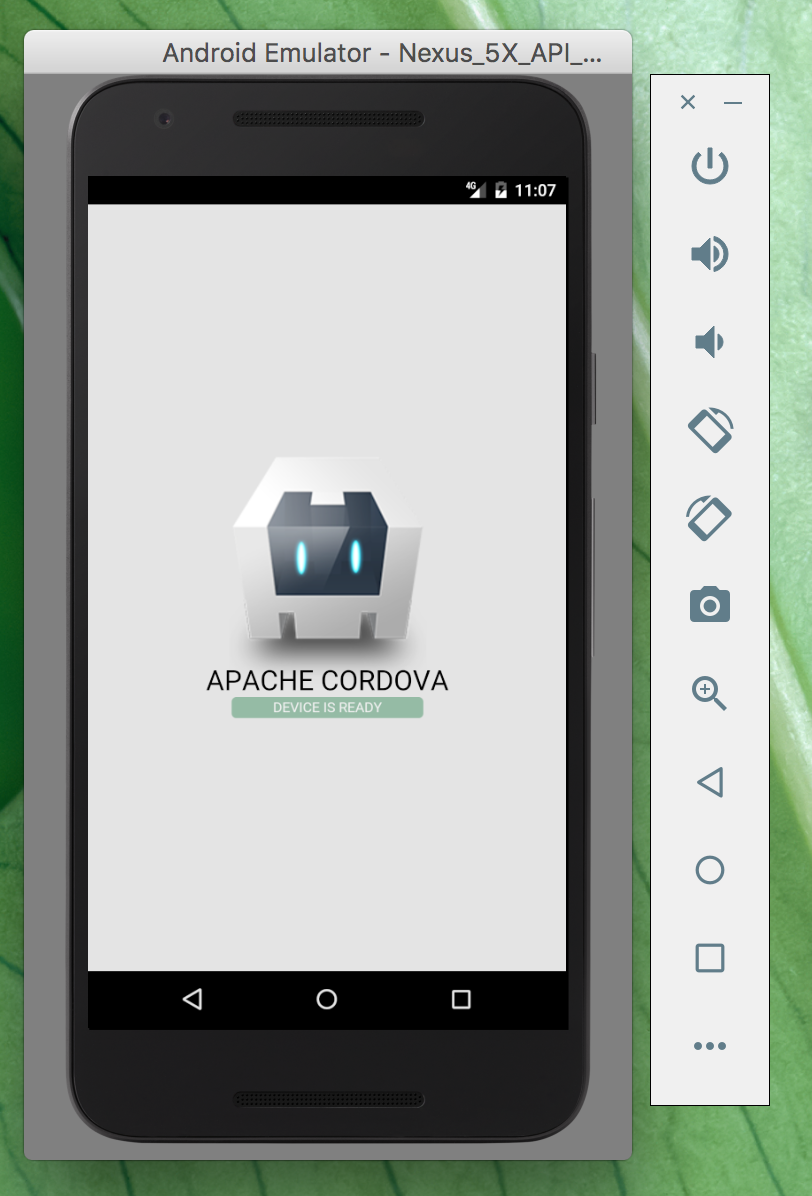
Now you can dive deeper into the structure of the Cordova app and its Javascript API.
6. Application directories and files
Your newly created project directory will contain:
config.xml hooks platforms plugins www
These are standard files and locations in Cordova app. First and foremost, there’s config.xml to describe your app.
<?xml version='1.0' encoding='utf-8'?>
<widget id="io.cordova.hellocordova" version="1.0.0" xmlns="http://www.w3.org/ns/widgets" xmlns:cdv="http://cordova.apache.org/ns/1.0">
    <name>HelloCordova</name>
    <description>
        A sample Apache Cordova application that responds to the deviceready event.
    </description>
    <author email="[email protected]" href="http://cordova.io">
        Apache Cordova Team
    </author>
    <content src="index.html" />
    <plugin name="cordova-plugin-whitelist" spec="1" />
    <access origin="*" />
    <allow-intent href="http://*/*" />
    <allow-intent href="https://*/*" />
    <allow-intent href="tel:*" />
    <allow-intent href="sms:*" />
    <allow-intent href="mailto:*" />
    <allow-intent href="geo:*" />
    <platform name="android">
        <allow-intent href="market:*" />
    </platform>
    <platform name="ios">
        <allow-intent href="itms:*" />
        <allow-intent href="itms-apps:*" />
    </platform>
</widget>
There are some interesting things here like access origin (which we will explore later) and you can add more entries later, but for now let’s just change the app name to the correct one and proceed.
hooks, platforms, and plugins can be skipped at this time. The most important folder is www where all the code goes and where you have the classic structure of a web page.
You should see folders for our assets (stylesheets, images and javascript files) and the index.html which keeps the HTML markup.
Take a moment to go through this short file. At the bottom of the body tag you need to include the Cordova Javascript file.
<script type="text/javascript" src="cordova.js"></script>
This is the only mandatory part. It’s up to you what you do with the rest of the markup.
7. Cordova-specific Javascript APIs
Cordova applications have a few lifecycle differences from usual web apps. To handle this, you may use Cordova-specific Javascript APIs for callbacks to run when something happens to the application.
Let’s look at code that Cordova generated for us in www/js/index.js.
var app = {
  // Application Constructor
  initialize: function() {
      this.bindEvents();
  },
  // Bind Event Listeners
  //
  // Bind any events that are required on startup. Common events are:
  // 'load', 'deviceready', 'offline', and 'online'.
  bindEvents: function() {
      document.addEventListener('deviceready', this.onDeviceReady, false);
  },
  // deviceready Event Handler
  //
  // The scope of 'this' is the event. In order to call the 'receivedEvent'
  // function, we must explicitly call 'app.receivedEvent(...);'
  onDeviceReady: function() {
      app.receivedEvent('deviceready');
  },
  // Update DOM on a Received Event
  receivedEvent: function(id) {
      var parentElement = document.getElementById(id);
      var listeningElement = parentElement.querySelector('.listening');
      var receivedElement = parentElement.querySelector('.received');

      listeningElement.setAttribute('style', 'display:none;');
      receivedElement.setAttribute('style', 'display:block;');

      console.log('Received Event: ' + id);
  }
};

app.initialize();
It’s rather simple and straightforward Javascript code, but there is one thing that is exclusive to Cordova.
document.addEventListener('deviceready', this.onDeviceReady, false);
deviceready is one of the few special events that corresponds to mobile application lifecycle. It signals that Cordova’s device APIs have fully loaded. When this event fires it’s safe to make calls to Cordova APIs.
This event is also different from any other Cordova events. Any event handler registered after this one fired will call its callback function immediately.
Other events fire when application is put into background, resumed, goes online or offline.
You can see full list here: http://docs.phonegap.com/en/4.0.0/cordova_events_events.md.html
You can use Javascript like you would in regular web app. That is not all. Cordova code base consists of two parts: native and Javascript. Through its Javascript APIs you can access smartphone features and hardware like camera. This is done through various plugins. We’re going to explore them in further parts of this guide.
7. A simple, working application: Crystall Ball
Sometimes it’s best to learn by example, so I made a pick for you - take a look at a working Cordova application Crystall Ball and explore its code. Most of the Javascript should be understandable for any web developer.
HTML
<!DOCTYPE html>

<html>
  <head>
    <meta http-equiv="Content-Security-Policy" content="default-src 'self' data: gap: https://ssl.gstatic.com 'unsafe-eval'; style-src 'self' 'unsafe-inline'; media-src *">
    <meta name="format-detection" content="telephone=no">
    <meta name="msapplication-tap-highlight" content="no">
    <meta name="viewport" content="user-scalable=no, initial-scale=1, maximum-scale=1, minimum-scale=1, width=device-width">
    <link rel="stylesheet" type="text/css" href="css/index.css">
    <title>Hello World</title>
  </head>
  <body>
    <div id="app">
      <p id='answer' class='hidden'></p>
      <h1 id='question'>Ask the question and click the ball</h1>
    </div>
    <script type="text/javascript" src="cordova.js"></script>
    <script type="text/javascript" src="js/index.js"></script>
  </body>
</html>
Javascript
var app = {
  // Application Constructor
  initialize: function() {
    this.bindEvents();
  },

  answers: ['Yes', 'Maybe', 'No', 'Forget', 'Probably'],
  // Bind Event Listeners
  //
  // Bind any events that are required on startup. Common events are:
  // 'load', 'deviceready', 'offline', and 'online'.
  bindEvents: function() {
    var appElement = document.getElementById('app')

    appElement.addEventListener('click', function() {
      var answer = app.answers[Math.floor(Math.random()*app.answers.length)];
      var answerContainer = document.getElementById('answer');
      var question = document.getElementById('question');

      answerContainer.innerHTML = answer;
      question.className = 'hidden';
      answerContainer.className = '';
    }, false);
  },
};

app.initialize();
CSS
{
  -webkit-tap-highlight-color: rgba(0,0,0,0); /* make transparent link selection, adjust last value opacity 0 to 1.0 */
}

body {
  -webkit-touch-callout: none;                /* prevent callout to copy image, etc when tap to hold */
  -webkit-text-size-adjust: none;             /* prevent webkit from resizing text to fit */
  -webkit-user-select: none;                  /* prevent copy paste, to allow, change 'none' to 'text' */
  background-color:#FFF;
  background-attachment:fixed;
  font-family:'HelveticaNeue-Light', 'HelveticaNeue', Helvetica, Arial, sans-serif;
  font-size:12px;
  height:100%;
  margin:0px;
  padding:0px;
  text-transform:uppercase;
  width:100%;
}

/* Portrait layout (default) */
#app {
  background:url(../img/crystal_ball.png) no-repeat center top; /* 170px x 200px */
  height: 400px;
  width: 100%;
  margin: auto;
  cursor: pointer;
  text-align:center;
  padding:180px 0px 0px 0px;     /* image height is 200px (bottom 20px are overlapped with text) */
}

#answer {
  position: relative;
  top: 115px;
  font-size: 3rem;
  color: violet;
}

#question {
  position: relative;
  top: 115px;
  font-size: 2rem;
  color: violet;
  width: 50%;
  margin: auto;
}

.hidden {
  display: none;
}

/* Landscape layout (with min-width) */
@media screen and (min-aspect-ratio: 1/1) and (min-width:400px) {
  .app {
    background-position:left center;
    padding:75px 0px 75px 170px;  /* padding-top + padding-bottom + text area = image height */
    margin:-90px 0px 0px -198px;  /* offset vertical: half of image height */
    /* offset horizontal: half of image width and text area width */
  }
}
You may think - “Hey it’s just a simple web app”, and this is the whole point of using Cordova. For most of the time, coding goes in the same way as for regular web apps: writing markup, styling and adding functionalities with Javascript. Below you can see how this app look in browser, Android and iPhone emulators. Better yet, why don’t you copy this code and try running it yourself?
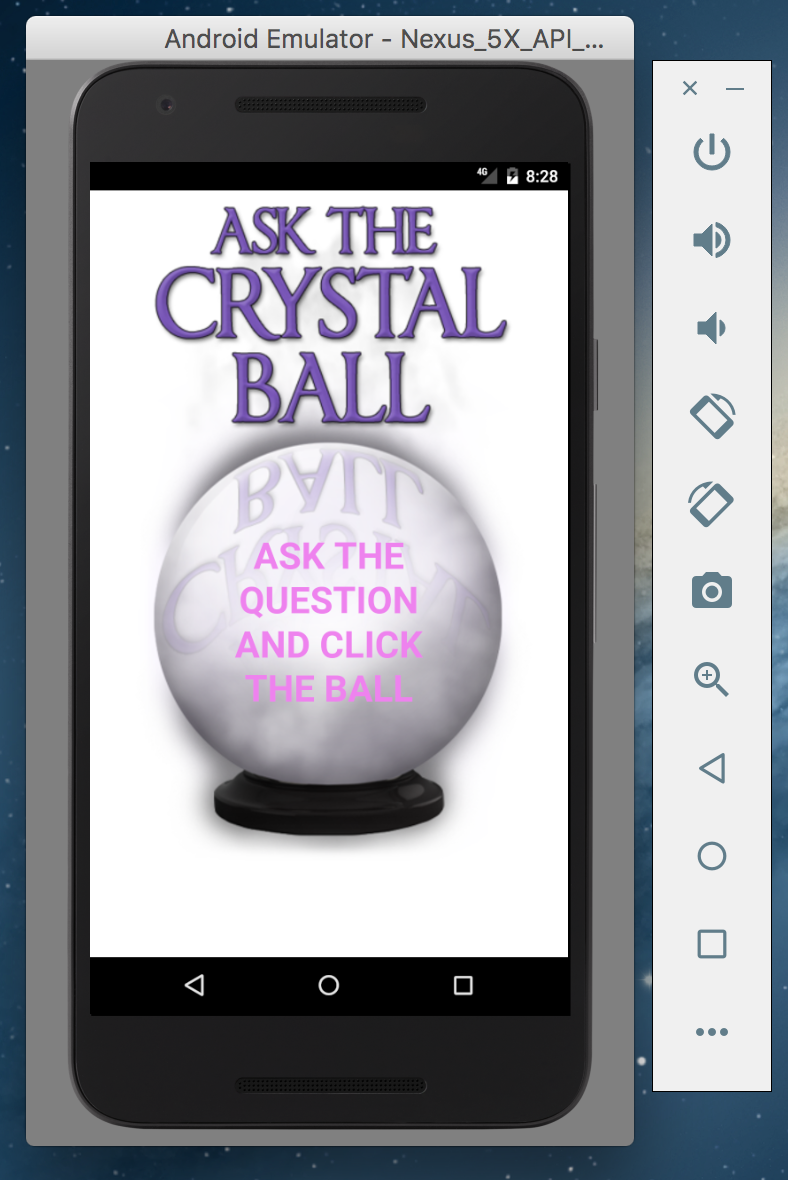
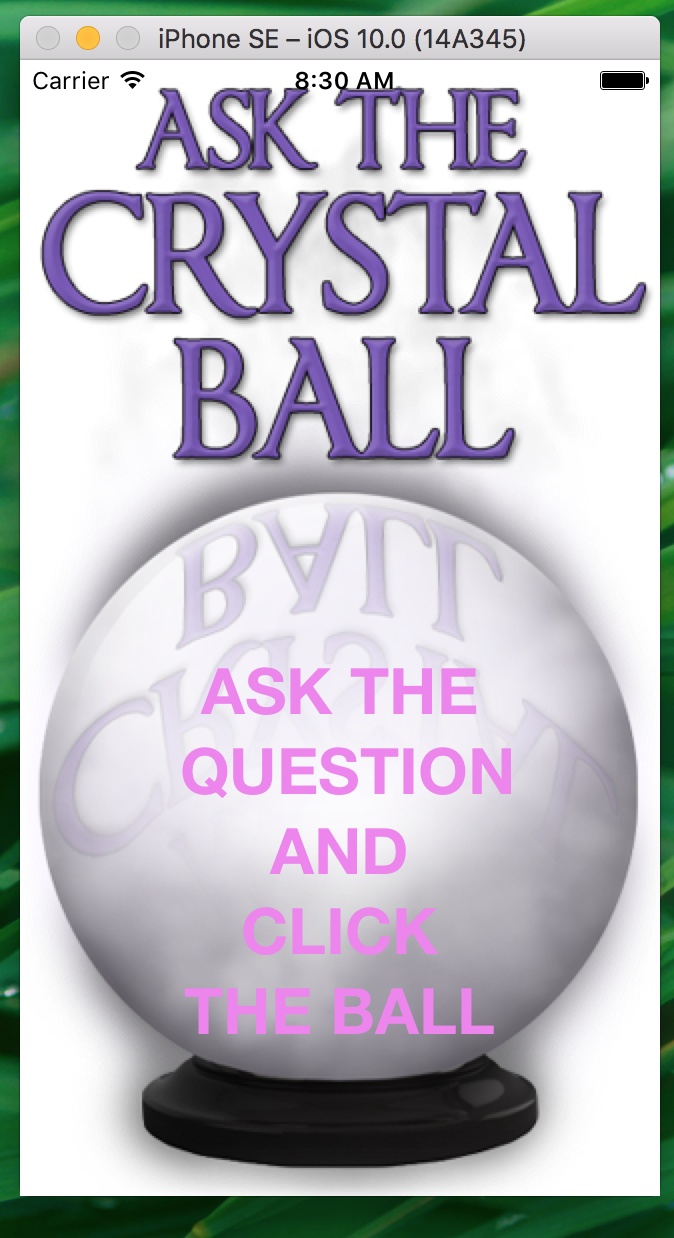
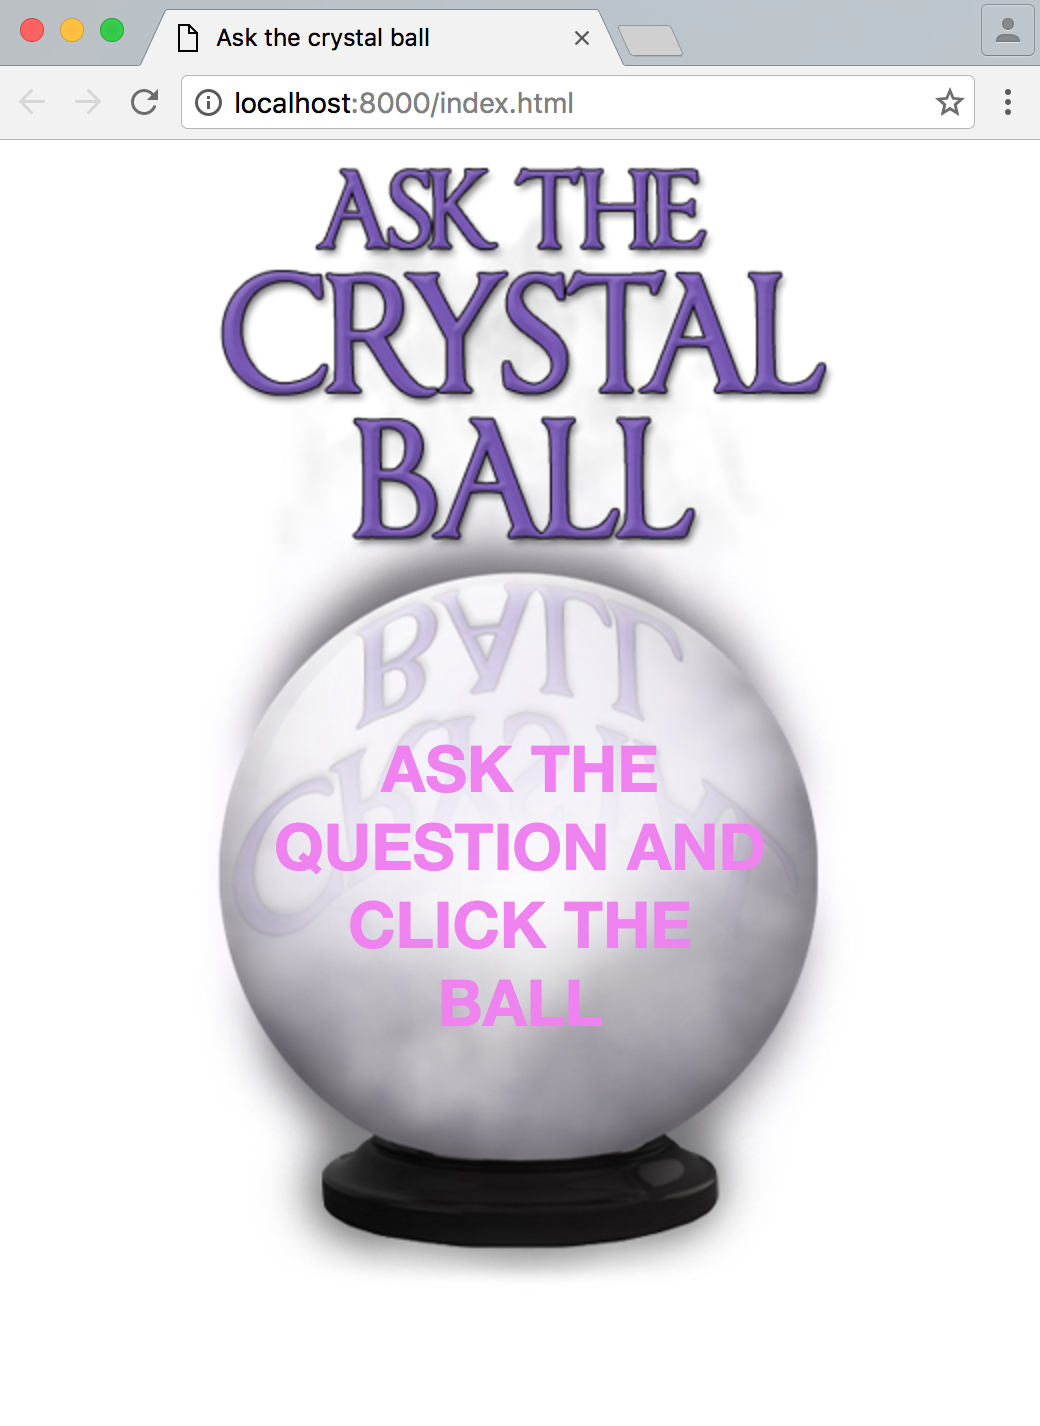
Play with it and see how it changes. Just remember to reload the platform you are running after each code change.
8. Coming up next
In the next parts of this guide I’m going to dig deeper into Cordova apps and get hands dirty with debugging, using hardware APIs (through plugins) and using CSS and Javascript frameworks.
Stay tuned!